Plumbing emergencies feel overwhelming at the moment. Water is going somewhere it should not. You do not know why. And you do not know how fast it will get worse.
This guide gives you a clear sequence of actions. Follow these steps in order.
Step 1: Find the Water Source and Shut It Off
The first goal is stopping more water from going where it should not.
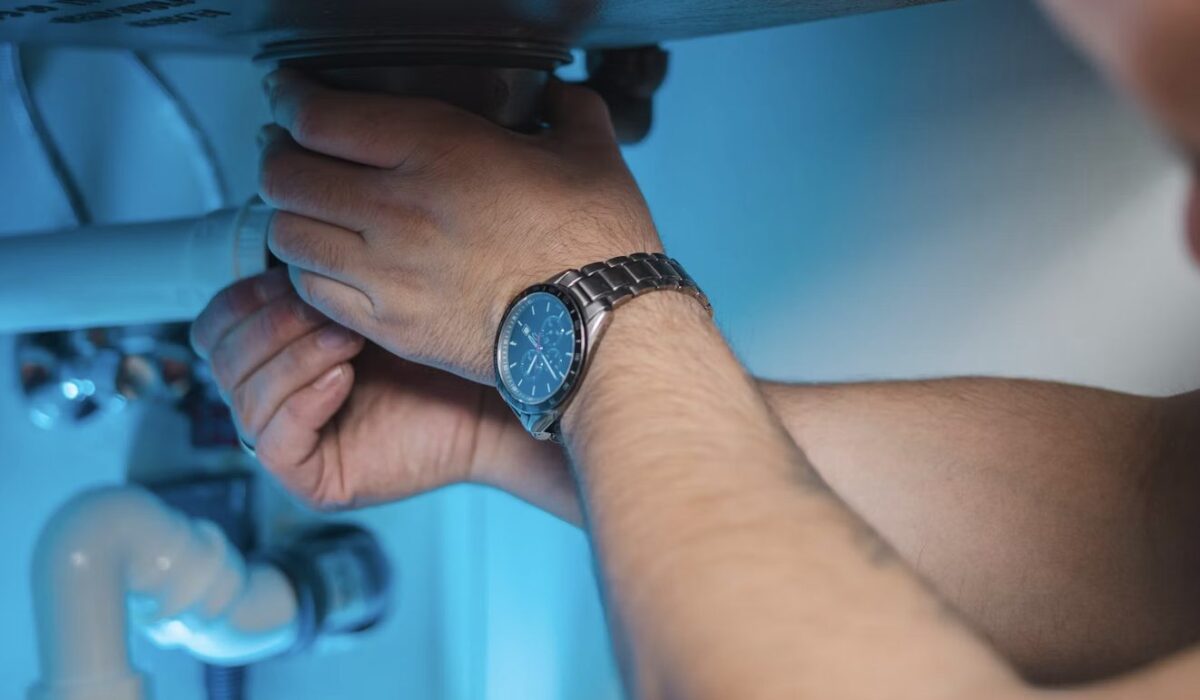
Every fixture in your home has its own shutoff valve. For a toilet, the valve sits on the wall behind and below the tank. For a sink, the valves sit under the cabinet. For a washing machine, the valves are on the wall behind the machine.
Turn each valve clockwise until it stops. This closes the water supply to that fixture only. The rest of the home still has water.
If you cannot locate the individual shutoff, or if the leak is not at a specific fixture, use the main shutoff.
Finding the main shutoff valve:
In most Boulder homes, the main shutoff is on the wall closest to the street at the basement or ground floor level. It is a valve on a pipe that enters from underground. Some homes have a second shutoff at the water meter in a pit near the street. That pit requires a meter key tool to access.
Turn the main shutoff clockwise to close it. This stops all water flow to the home.
If you are looking for an emergency plumber boulder colorado while doing this, Canyon Plumbers serves the Boulder County area with same-day emergency response.
Step 2: Assess the Damage Before It Spreads
Once the water is off, look at what has happened.
Ask these questions:
- Is the water still flowing or has it stopped?
- Is the floor wet? How large is the wet area?
- Is the water coming from above (through a ceiling) or from below (through a floor)?
- Does the water smell? (Sewage smell means drain water, not clean supply water.)
Write down the answers or take a short video. This information is what the plumber needs when they arrive. It cuts diagnostic time significantly.
Step 3: Remove Standing Water Immediately
Every minute that water sits on a floor, against drywall, or inside a cabinet increases the damage.
Use towels first for small amounts. For larger amounts, a wet vacuum removes water faster than towels. Most home improvement stores rent wet vacuums for $30 to $50 per day if you do not own one.
Move anything that is sitting in the water. Books, electronics, furniture with wood legs, and cardboard boxes all absorb water and become damaged within minutes.
If water has soaked into the carpet, pull the carpet back from the edge of the room closest to the wet area and fold it back over itself. This exposes the pad underneath. The pad holds most of the water and must be dried or replaced.
Step 4: Photograph Everything Before You Clean
Before you remove any water, photograph the damage.
Take photos of:
- Every wet surface
- The source location of the leak
- The floor, walls, and any furniture affected
- The source valve or pipe that failed
These photos become the evidence for an insurance claim if you file one. An insurance claim without documentation is a claim that is hard to support.
Date and time are embedded in the metadata of every smartphone photo. You do not need to add them manually.
Step 5: Identify What Type of Emergency You Have
Not all plumbing emergencies are the same. The type determines what the plumber does first.
Type 1: Pressurized supply pipe failure.
Clean water is flowing from a pipe, fitting, or fixture. The water meter was advancing when you thought everything was off. This is a supply line failure.
The supply line is under pressure. Until the shutoff is closed, water flows continuously. Even a small supply line failure can release 5 to 15 gallons per minute.
Type 2: Drain line backup.
Wastewater is coming back up through drains, floor drains, or the lowest fixtures in the home. The toilet bubbles when the sink runs. Water comes up through the shower when the toilet flushes.
This is a main sewer line blockage or backup. The pressurized supply does not need to be shut off. But you should not use any water until the drain is cleared.
Type 3: Water heater failure.
Water is pooling around the base of the water heater, or water is discharging from the pressure relief valve pipe. The valve discharge pipe runs from the top of the heater down the side and terminates near the floor.
Shut off the cold water supply to the heater (the valve on the cold water inlet at the top of the unit). For gas heaters, set the thermostat to the Pilot position. For electric heaters, turn off the circuit breaker labeled for the water heater.
Step 6: Call for Emergency Plumbing Service With the Right Information
When you call, have this information ready:
- The type of emergency (supply line, drain backup, or water heater)
- Whether you have shut off the water
- The approximate location of the failure in the home
- Whether the water is clean or smells like sewage
- Whether anyone is home and can provide access
This information lets the dispatcher send the correct equipment and expertise for your specific situation. Providing clear details about the problem can also help the plumber prepare for the right type of repair before arriving. Be sure to mention if you are dealing with burst or frozen pipes and overflowing toilets, as these emergencies may require immediate attention and specialized equipment.
Step 7: Ventilate the Affected Area
After the water is removed, ventilation speeds drying and reduces mold risk.
Open windows in the affected room if weather allows. Place fans to move air across wet surfaces. Point fans toward open windows to push humid air out rather than just circulating it.
A dehumidifier set to run continuously in the room pulls moisture from the air and from porous surfaces. Moisture levels above 60 percent relative humidity create conditions where mold begins growing within 24 to 48 hours on wet organic surfaces including wood, drywall, and carpet backing.
The EPA’s guidance on mold prevention recommends reducing indoor humidity to below 60 percent within 24 hours of a water event. Most consumer dehumidifiers specify their coverage area on the label. Use one rated for a larger space than the room you are treating.
Step 8: Know What the Plumber Will Do When They Arrive
For supply line failures: The plumber confirms the shutoff is working, locates the specific failure point, repairs or replaces the failed component, and tests the repair under pressure before leaving.
For sewer backups: The plumber uses a drain camera to locate the blockage, uses a drain auger or hydro-jetting equipment to clear it, and confirms flow before leaving. If root intrusion is the cause, they will discuss long-term options including pipe lining or replacement.
For water heater failures: The plumber diagnoses whether the failure is the pressure relief valve, the anode rod, a fitting, or the tank itself. Tank failures typically require replacement rather than repair.